First I surfed the web for purple and green fabrics in hopes of finding something that would coordinate with Nora's room decor. Of course, the purple and green I found are completely the wrong shades... but I loved the fabrics so I chose them anyway. They come from the Joel Dewberry Aviary 2 Lilac Palette.

I had decided initially that I wanted to make a chevron pattern (running the risk that this trend will be out-of-style before Nora even uses it, but oh well). I found this pattern on etsy and really happy with it, so I definitely recommend this shop. Although I've made several baby size quilt projects, this was my first full size quilt, and this pattern was super easy for me to follow. Since I knew I was going to use three different fabrics, and wanted to do a few panels on the back side of the quilt, I had to do a little bit of planning to figure out how much to buy of each fabric.

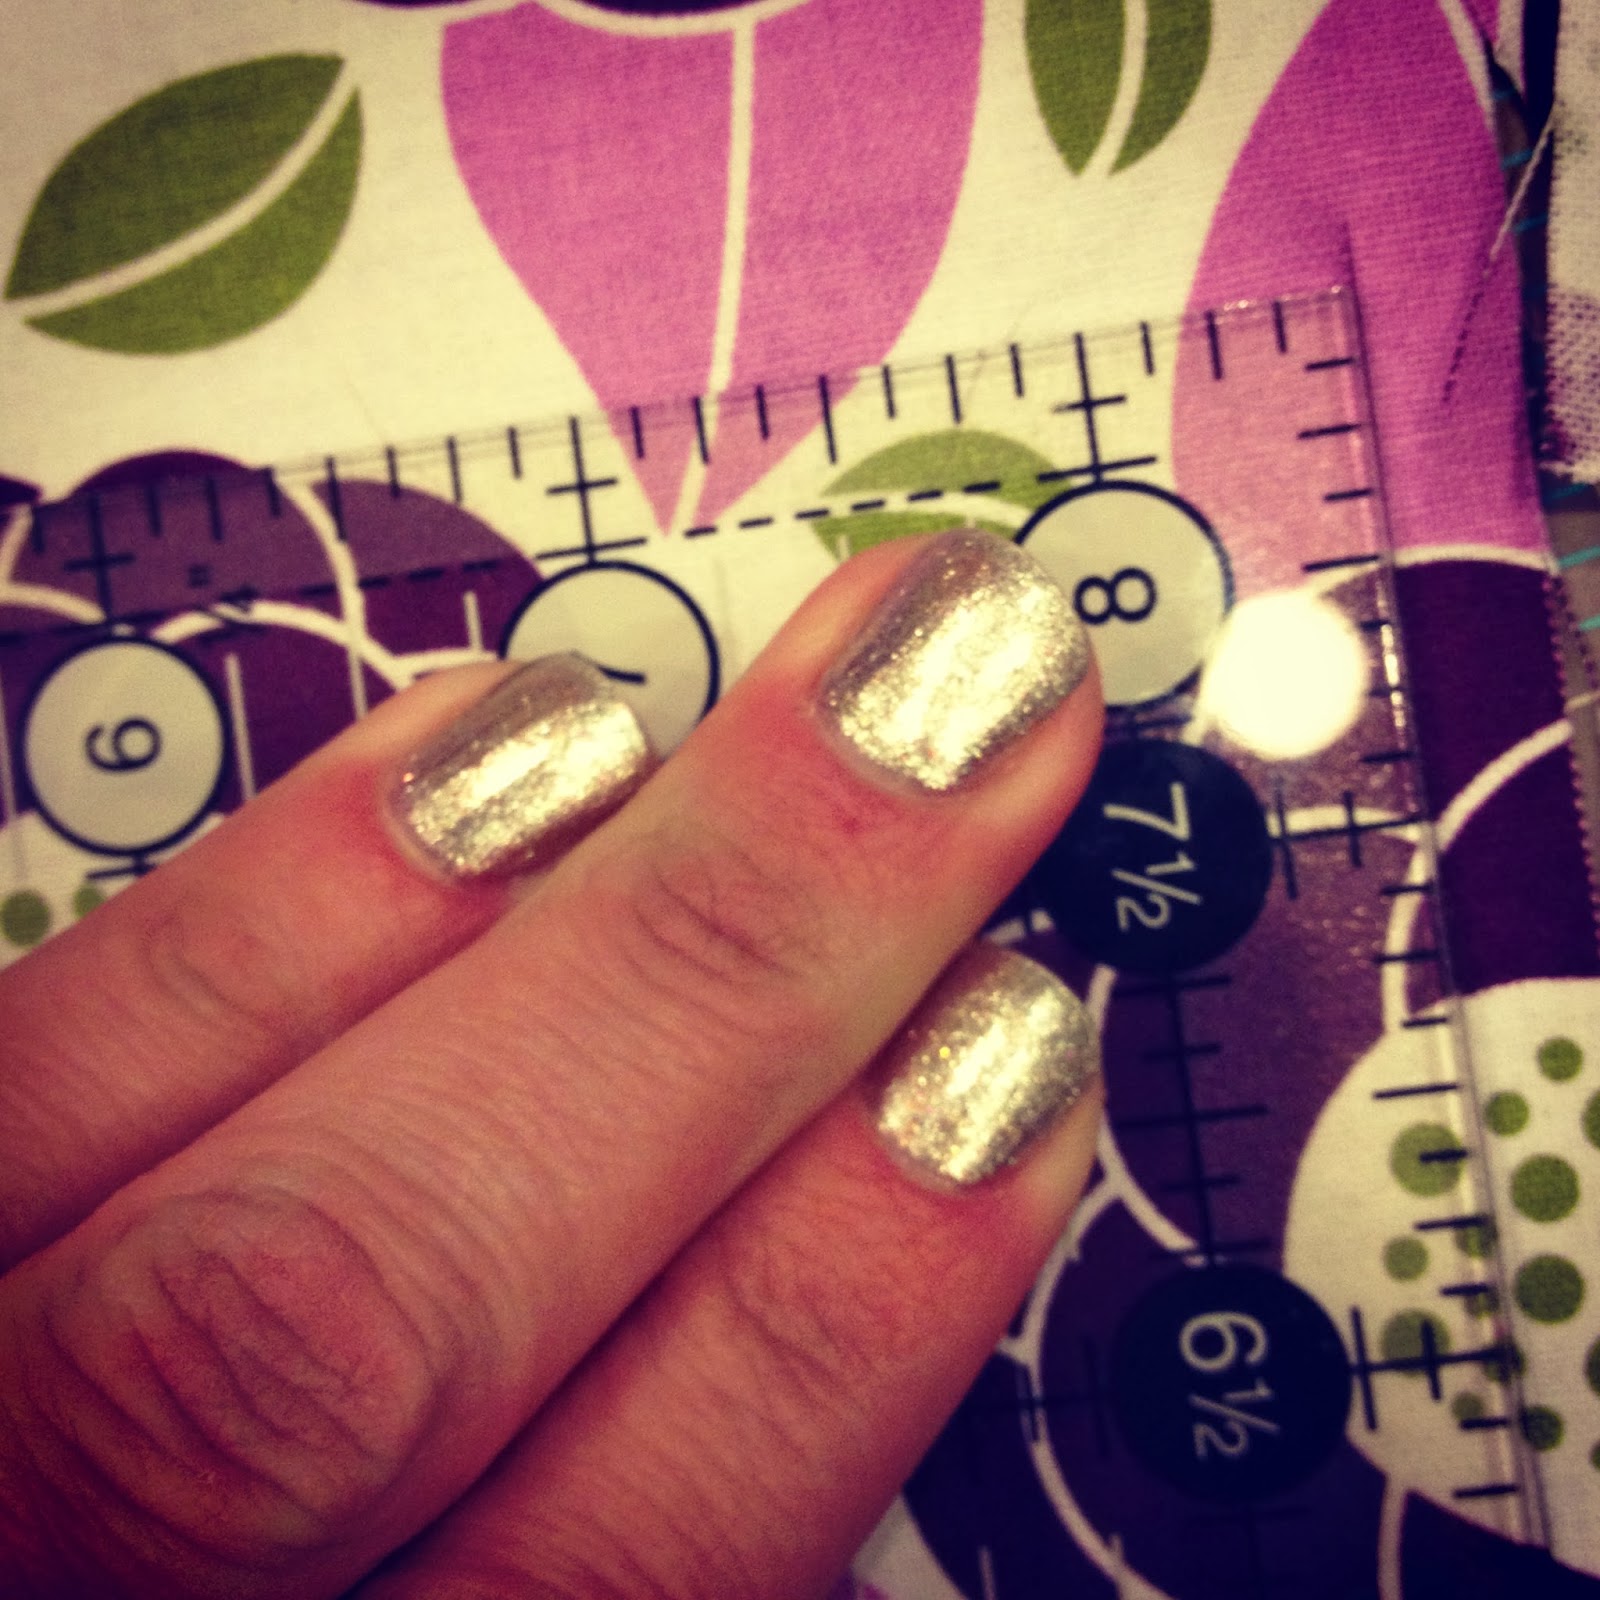
Once the fabric arrived, I started measuring and cutting. And measuring, and cutting, and measuring, and cutting. Wow. The most eye opening thing about this project was learning how much work goes into making a quilt beyond the sewing. Thank goodness for cutting mats, quilt rulers, rotary cutters, and serialized dramadies on demand.
I worked on the cutting and the embroidery at the same time. One of the reasons I first proposed the name "Nora" to Billy was because I wanted my daughter's name to have a strong literary legacy. (I feel like I should consider giving a nerdiness disclaimer here, but unless this is the first post you've read, it's not necessary.) Nora from "A Doll's House" is an early example of a female character who stands up to the limitations of patriarchy, so I chose this translated quote from the end of the play to embroider on the back side of the quilt: I must think things over for myself and try to understand them. A lot of what Billy and I do as parents is try to figure out how we can teach Nora to be an independent thinker. So I like to think she will learn this by osmosis if she has this quote tucked under her chin every night. A mom can dream, at least.

After I cut out all the squares, I pressed them, sewed them together on the diagonal, cut them in half, pressed them open, and trimmed them again to size. So basically what you should know, if you are not a quilter, is that most of the time is spent measuring, cutting, and pressing. But this step satisfied my perfectionism because it meant that all the squares I was going to piece together for the quilt were exactly right at this stage.

Once I had all my squares ready, I thought I was going to sort through them all to make the pattern look as good as possible. This lasted about ten minutes. I realized that if I'd wanted to keep all the wood grain going the same direction, for example, I would've had to modify the pattern before I started cutting. Live and learn. Nora's quilt will be scrappy just like her, I decided to make myself feel better. But the perfectionist in me did make sure the wood grain and dark purple fabric followed a pattern of non-consistency.

Then the quilt called for sewing the squares into horizontal strips. When I completed those, it became possible to see what the quilt was going to end up looking like.


I think it was around this time that I finished the embroidery, which allowed me to sew the back panel together. I wanted the purple section to fill most of the top of the bed, while the white panels will start on the top but mostly spill over and down the sides.

Once I had sewed the squares into rows, and pressed all the seams, I began sewing those rows into pairs, at which point the chevron pattern started to stand out. Then, after a particularly long and difficult day on campus, I decided I was giving myself the whole night off from my academic work (and cleaning up Nora's toys) so I could earn some gratification by finishing the top panel. I sewed all my pairs of rows together and took this picture of the back, which shows just how much sewing and pressing goes into this pattern.

Look how much beautiful work I've done, I thought. I didn't even notice that I had messed it up until I looked at the photo I took of the front.

I could not find my seam ripper, so I gave up on this stupid project for the night, which was probably for the best. Later, when I picked it up to take it apart, I was thankful that at least I realized the mistake before I had pressed open the seams I'd mis-sewn. It was also around this time that Showtime took Shameless off the on-demand offerings, which I had been watching while I worked. Thanks for nothing, Showtime. I still don't know what happened after their mom came back.
In another example of fortuitous genius, I arranged to have some college students pick up the couches we were giving away on the same night I was going to spray adhere and pin my quilt. This meant I had a lot of extra room to spread everything out and get it tacked together. Using spray adhesive and fewer pins is the type of thing I did not want to do because it felt like cheating. I was already planning to machine quilt, after all, and that was a huge shortcut. Can you really call yourself a quilter if you haven't pinned the thing together within an inch of its life? Yes, said the kindly old lady at my local quilt shop. You'd be crazy to do it the old fashioned way. Okay, then. You don't have to twist my arm too hard to convince me to do things the easier way.

After I had the whole thing stuck together, I got to do the gratifying work of the actual "quilting"-- sewing it all into one piece. There are a lot of parallels between writing a dissertation and sewing a quilt. Behind the "writing" of a dissertation there is the thinking, researching, and the synthesizing, just like behind the "sewing" of a quilt there is the measuring, cutting, and pressing. But there is no writing experience comparable to the quilting stage of quilting. When you attempt to piece your writing together into a single document, it is still a huge mess. It takes a ton of revision to get it to look right. This is not the case with a quilt. When you decide what pattern you're going to use for the quilting, and you finish all those lines and turns, the thing looks awesome. I mean, you still have to trim the edges and bind it, but it's practically done. Even Nora and Oscar thought it was already finished, apparently.

I learned how to hand bind a quilt on YouTube. This modern world, my grandmother would have said.

And then it was finished. I love it. It's almost perfect, but it has just enough mis-aligned sections to prove I did it myself. It's also huge. I had no idea that a twin quilt would actually be big enough to stretch all the way across our queen sized bed-- but I guess it allows for a lot of overhang.


Now that it is finished, I still have no idea when Nora will actually use it. We are in no rush to move her out of the crib, and when we do, we've been thinking about using a toddler bed so she still has more play area in her room. Who knows. Perhaps she will grow up thinking the quilt always existed. Which, in a way, because I made it out of love for her, it always did.
This is amazing. I love witnessing other people's sidework come to such great fruition!
ReplyDelete